Last time we left you with these parts and pieces:
 |
| CLICK TO ENLARGE |
Which doesn't really look like much. In fact, there are probably 2-dozen Shield building tutorials on-line which would leave you with these pieces, all flat and saggy, to tape or paste them together and you get what you get.
However, in the really brilliant video I linked to when we kicked off this blog, the designer of the original shield model understood that a flat shield is lame, and he also understood something about how paper can work structurally. In this step, I'm going to show you what we did to build the original 1.0 model shield, and then at the end of this step I'm going to tell you how to do one better that we did using the same materials and a better technique.
OK: so a bunch of flat paper stacked up on itself will look like this:
 |
| NO OFFENSE, KID |
Right? Just circles on a disk. And that's fine when it's 1974 and all you have at your disposal is a refrigerator box, watercolor markers, a steak knife, and a tattered copy of Cap #111. But we have all of the fire power of being middle-class nerds in 2014 who understand that it really doesn't cost that much to transform those paper disks into something a little more dimensional.
The real thing, which was allegedly turned out of aluminum, looks like this:
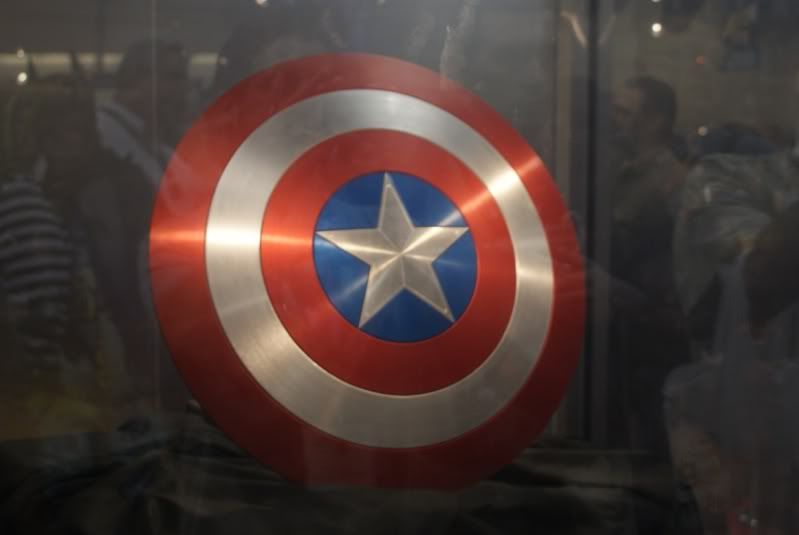
Which of course is fantastic. But if we are marginally clever, we can see that we don't have to make the surface of the shield one continuous curve. We can actually build it like this:
 |
| CLICK TO ENLARGE |
Which is really a stack of straight lines, each one as you move out from the center set at a more-steep angle. The way we get that steeper angle is to take the pre-cut circle and tighten it up. You saw that in the videos, and I'm going to show you the way we did it in the original shield model, but at the end I'm also going to tell you a different method which, I think, will render a result even better than what we got in our first try.
Let's begin with the largest circle, which is the outer red circle of the shield. Take the utility knife and the yard stick, and cut the circle on the centerline marking left over from when you measured the board ON ONE SIDE ONLY.
A neat, straight cut is your best friend. Next, lay the yardstick down and place the circle over it. Have a helper keep the uncut end of the circle at the center mark on the "zero"end of the yardstick, and you begin to cinch up the circle, overlapping the cut ends on top of each other until your outer diameter (OD) is 28". When you have that diameter, your circle will no longer be a flat piece: it will have a very distinct slope. Mark the place where the top overlapping piece ends for reference, and then break out the glue and the clamps.
If you use this method, make sure when you clamp you are getting good bond lines (right to the edges) on the inner diameter (ID) and outer diameter (OD). Above, on the left, the clamps are allowing the outer diameter to gap, and if it dries that way you'll be stuck with a lousy appearance. On the right, above, the clamps are getting good pressure without marking the paper, and the edges are all sealed.
You want to repeat this process on all 3 outer circles. You're going to draw the middle (white) circle in so the OD is 22.5"; the inner (red) circle gets drawn in so the OD is 14.5". When you do this, the three circles will each have a different slope.
When the glue sets up under the clamps, take the waterproof wood glue and mix 4 parts glue to 1 part water (not an exact recipe - just don't mix it with more water than glue). Mix it well so it is very runny, very smooth. Paint the tops of the rings, the center circle, and the star with the watered down glue. This mixture will take about 1 hours to dry in a sunny place, or about 3 hours to dry indoors. When it sets up, your rings will be ready to take paint.
Let's begin with the largest circle, which is the outer red circle of the shield. Take the utility knife and the yard stick, and cut the circle on the centerline marking left over from when you measured the board ON ONE SIDE ONLY.
 |
| CLICK TO ENLARGE |
 |
| CLICK TO ENLARGE |
You want to repeat this process on all 3 outer circles. You're going to draw the middle (white) circle in so the OD is 22.5"; the inner (red) circle gets drawn in so the OD is 14.5". When you do this, the three circles will each have a different slope.
When the glue sets up under the clamps, take the waterproof wood glue and mix 4 parts glue to 1 part water (not an exact recipe - just don't mix it with more water than glue). Mix it well so it is very runny, very smooth. Paint the tops of the rings, the center circle, and the star with the watered down glue. This mixture will take about 1 hours to dry in a sunny place, or about 3 hours to dry indoors. When it sets up, your rings will be ready to take paint.
We'll talk about painting in the next blog post, but here at the end of this one, I wanted to talk about the method above, and what I think is a better method for cinching the circles. The method above gets your circles closed and cinched in a very satisfying way. When it's done, you have parts that look like they are ready for either paint or assembly, and you feel like you've made progress.
The problem with this method is that when you go to attach the rings in a stack, your process of gluing will cause you to find a lot of slack in the difference between the OD of the smaller ring and the ID of the larger ring around your glue joint. Because the larger circle is already closed and sealed in a cinched position, you'll get a wrinkle in the last 4 inches of your bond line which you can't work out.
The way I solved this issue in my shield was to cut the circle a second time at the overlapping flap when I had come all the way around the bond line with hot glue, cut out exactly enough paper to eliminate the wrinkle, and then re-attach the loose end by gluing a patch on the back side of the shield.
After thinking about it, I think the better way to approach this situation is this:
- Cut the circles on the center lines as above.
- Cinch them up to the correct OD and mark the overlap with a straight line.
- DO NOT GLUE THE OVERLAP. Instead, CUT the overlap at your mark.
- Prime the circles after cutting is complete, as above.
- Paint the circles (we'll discuss next time).
- Assemble the circles starting from the center going out; glue the bond lines from the inside of the shield, working in one direction. When you have 4-6 inches of bond line left, mark the new section of overlap and trim the loose end to meet exactly at the starting point.
- Complete the bond line and glue the cut ends together from behind using a small piece of scrap. Cover the whole seam for best strength.
- Repeat until all rings are installed.
This method eliminates the overlapping glue flap on the circles, and makes the actual bond line between ID and OD of each circle more precise. If you are careful, and you start each circle at the same place, your glued ends could likely be filled, sanded, and repainted -- and it will eliminate the crease mark which my model has on the front face.

