To build this project, you need a few things. Where it's possible, I have listed the prices of the parts and pieces.

Before you get started, prepare the yard stick to be your compass by drilling a tiny pilot hole at 1" exactly to receive the thumbtack. If you are especially clever, you can pre-drill the stick for the holes you will need to trace the circles on the mat board prior to cutting.
- 3 sheets, plain white mat board 30" x 40" (~ 762mm x 1012 mm) (about $7 each)
- 1 can, Krylon ColorMaster Cherry Red Paint (buy the darker red, not the jolly red) (about $6)
- 1 can, Krylon ColorMaster Navy Blue Paint (I used "true blue," but I think a navy would have been better) (about $6)
- 2 cans, Krylon clear coat spray (I bought double coat from WAL*MARt at about $5 a can)
- 2 cans, Krylon Silver Foil Metallic spray paint (about $7 per can)
- NOTE: this makes fantastic Silver parts which cannot be touched ever again without leaving fingerpirnts. You can substitute Krylon ColorMaster White if you want a shield which is a little more real-world friendly.
For the "advanced" version of this project which builds a back-side to the shield, complete with durable handles and the harness which Cap wears in "Winter Soldier" to wear the shield on his back, you'll need the following:
- 2 leftover wire hangers from your dry cleaning
- 10 wide-head assembly screws with nuts and large washers
- 1 2-pack, velcro elastic straps (about $8 at WAL*MART)
- 2 1-inch x 3 ft camping straps (about $2 each at WalMart)
- 1 2-pack 65-lb magnets; 1 95 lb magnet (about $15 total from Harbor Freight)
Tools you will need:
- 1 sharp pencil
- 1 1-inch wide tempera paint brush (suitable for applying glue; about $4 at WAL*MART)
- 1 wooden yard stick trimmed back to 16" and a large thumbtack
- A simple classroom protractor
- A metal yardstick
- Drill or Drill Press
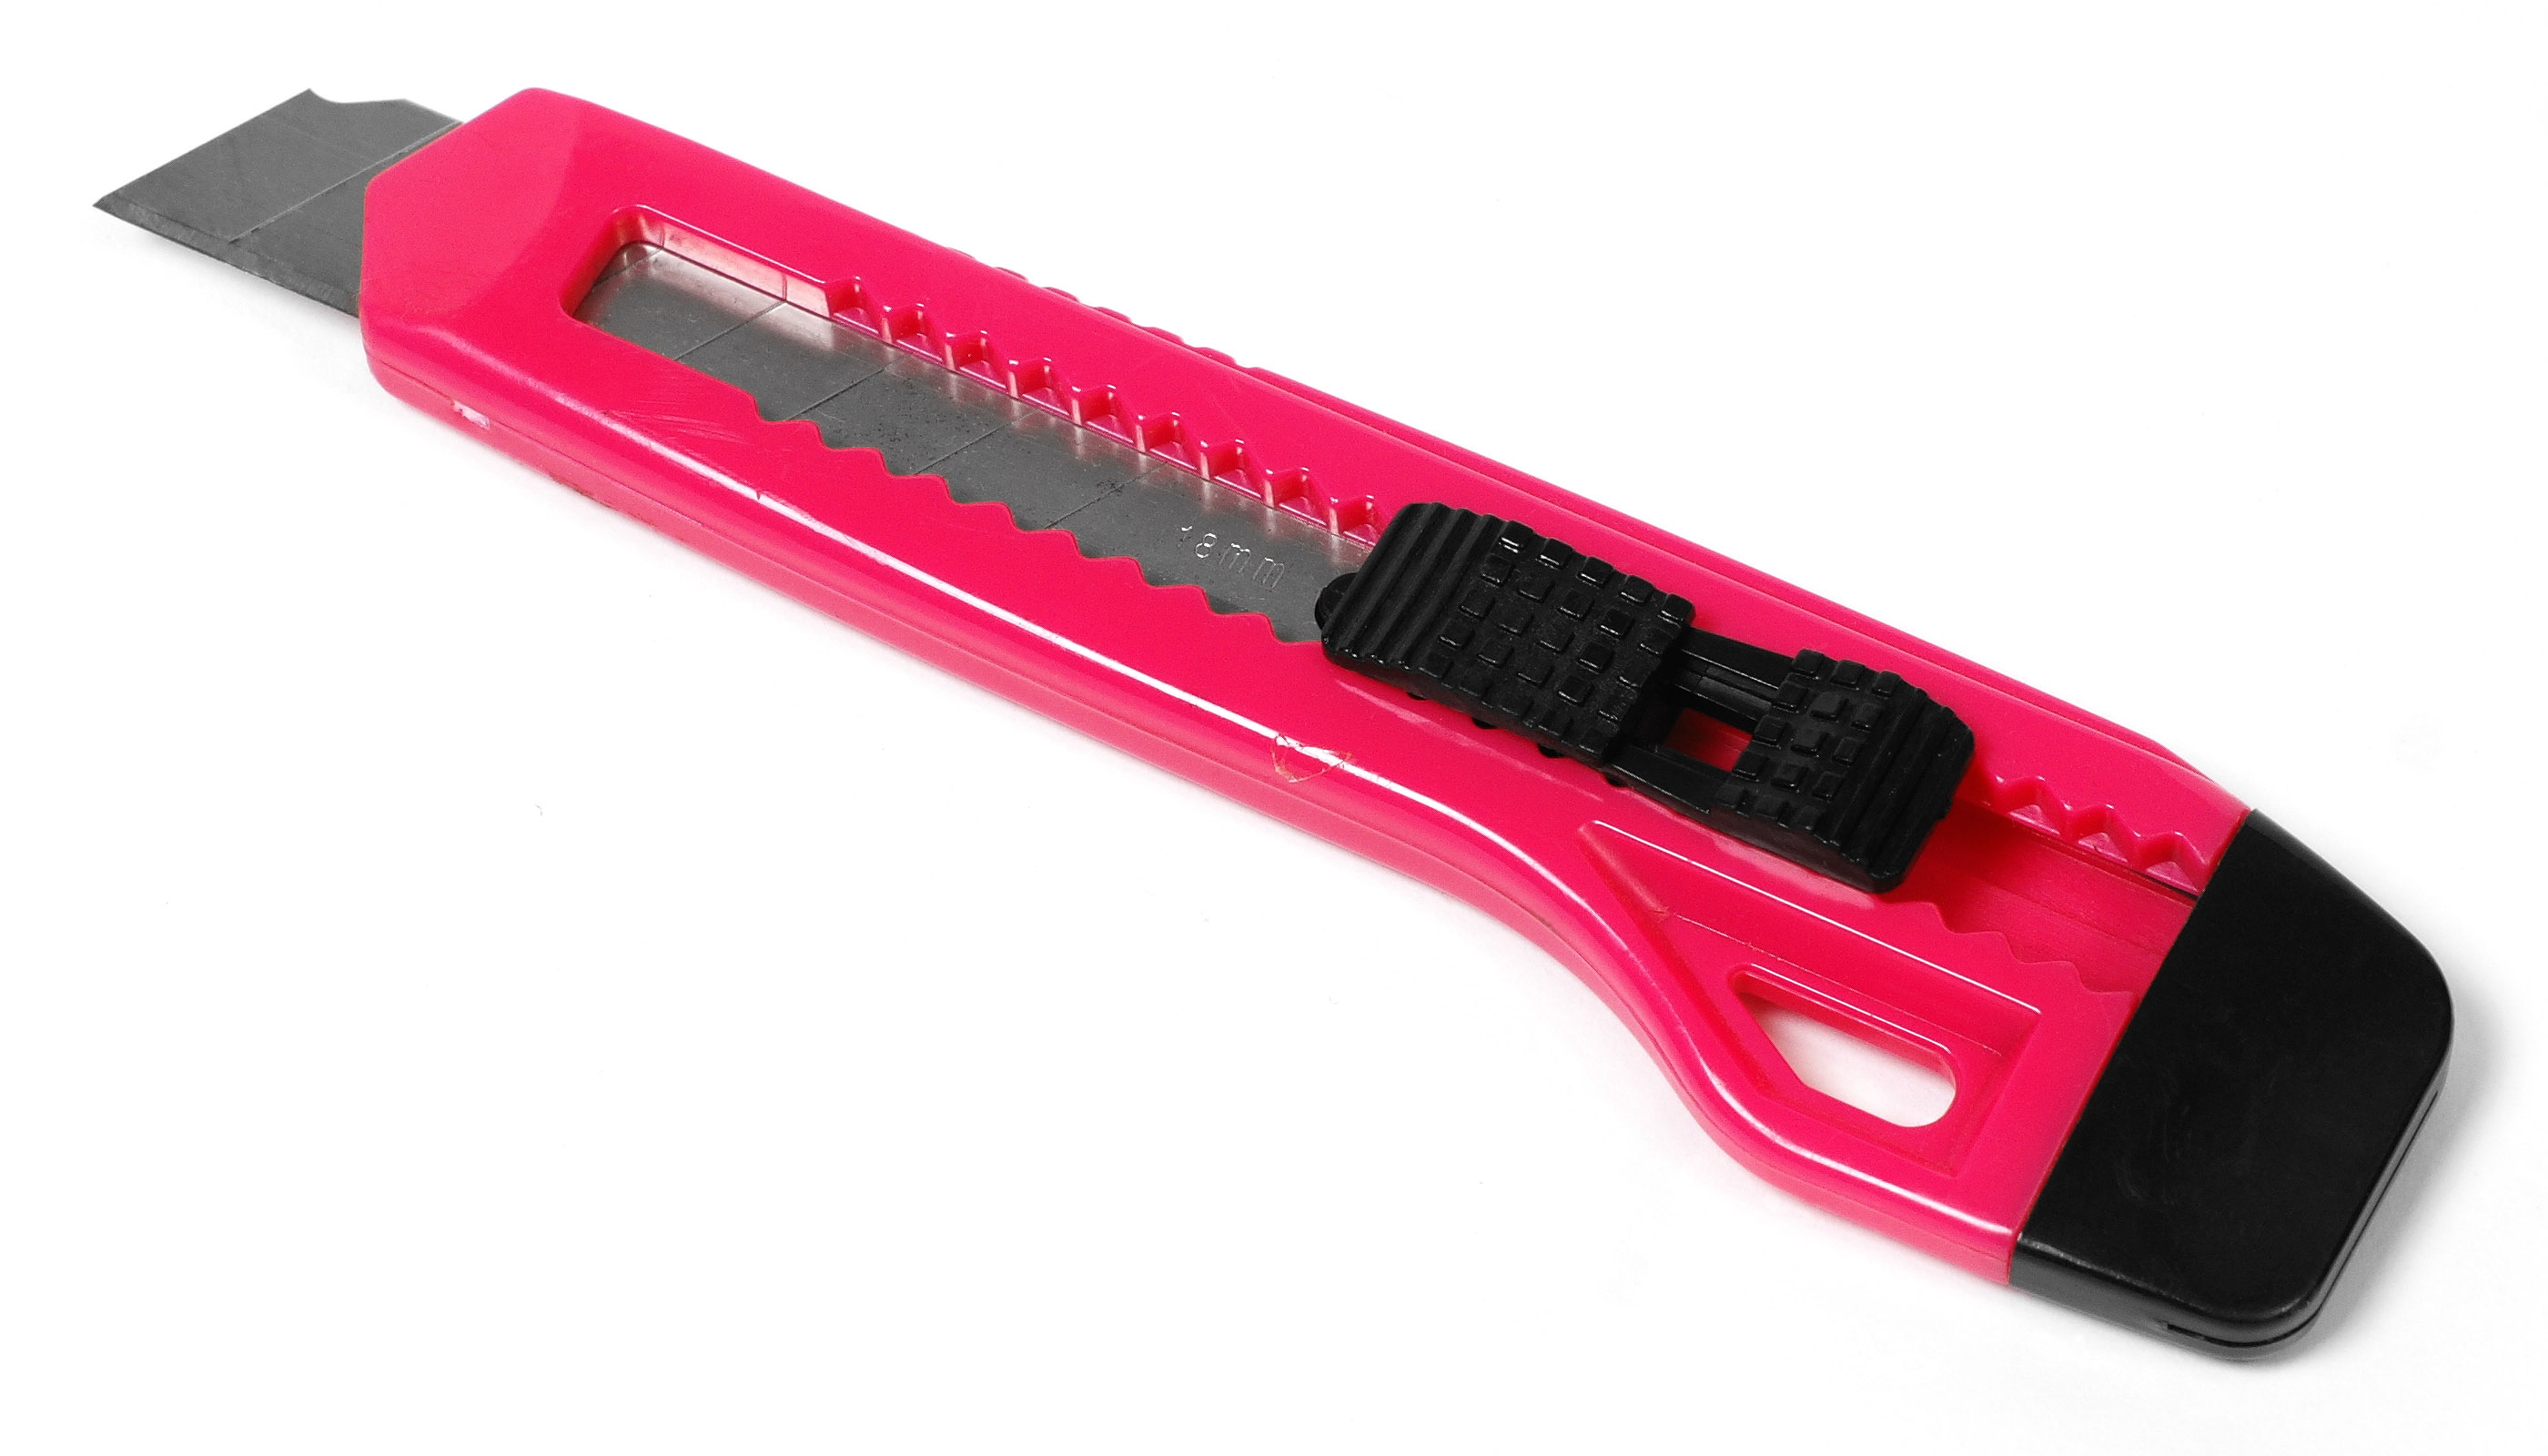
- utility knife (pref: the kind which lets you snap off the end to get the tip sharp again, as below)
- Waterproof wood glue (if you have saintly patience and a truck box full of clamps; also used for priming the paper before painting)
- Hot Glue Gun with 24 glue sticks (if you are like me and have no patience for drying glue, but you need a very precise touch)
Before you get started, prepare the yard stick to be your compass by drilling a tiny pilot hole at 1" exactly to receive the thumbtack. If you are especially clever, you can pre-drill the stick for the holes you will need to trace the circles on the mat board prior to cutting.

